A sump pump plays a key role in protecting your basement from unexpected water damage. When heavy storms roll through Antioch, or when groundwater levels rise, the sump pump keeps water from seeping into your home’s lowest level. If it fails or isn’t sized right for your needs, it can leave you facing costly cleanup and repairs. That’s why getting a new sump pump installed isn’t something to rush or take lightly—it’s a decision that affects your home’s safety and stability.
Whether you're replacing an old model or setting one up for the first time, it's helpful to understand what the process looks like. Knowing what to expect makes a big difference in how smoothly everything runs. From checking out your current setup to choosing the right type of unit, each step matters. This way, your new sump pump won’t just sit in the corner—it’ll be ready to do its job when you need it most.
The Initial Assessment
The first step before any new sump pump installation in Antioch is evaluating what’s already in place. If you’ve had issues with water pooling in your basement or you’ve noticed that your current pump isn’t turning on during storms, it's time to look closer. Even if nothing looks wrong, it’s possible your current system just isn’t equipped to handle the workload.
Our technicians start by inspecting your existing setup. This includes looking at the pit size, drain tile condition, pump capacity, discharge location, and power source. For homeowners starting fresh, the location of the pit itself is just as important. It needs to be installed where water naturally collects in the basement, often near the lowest point of the floor.
Here’s what’s typically checked during the assessment:
- Condition of the existing pump, if present
- Sump pit size and depth
- Electrical power access
- Drainage path for water discharge
- Signs of previous water damage or mold
Every home is built differently, and Antioch has its fair share of homes with unique layouts. Basement dimensions, soil composition, and roof drainage can all affect where and how the pump should be installed. That’s why a full evaluation comes first—it sets the foundation for every decision that follows.
Choosing The Right Sump Pump
Once the assessment is complete, the next step is picking the right type of sump pump. Not every home needs the same kind, and choosing the wrong one might leave you back at square one when a big rain hits.
There are two main types: pedestal and submersible. Each has benefits depending on your needs. Pedestal pumps are mounted above the basin and are easier to access for repairs. Submersible pumps sit inside the pit and are typically quieter and better for homes with higher water tables.
When deciding what type and size is best for your property, here are a few points to consider:
- How much water needs to be pumped during peak storms
- Whether the pump should handle solids or debris
- The vertical height water must be pushed (called head height)
- Noise level preference, especially if the basement is finished
- Backup power options, like battery-powered systems
Matching the pump to your home isn’t a guessing game. For example, if your basement floods quickly after just an hour of rain, you’ll need a pump with a higher gallon-per-minute rating than someone who wants a backup just in case. Our professionals work through these details to choose a system that fits your house—not the other way around.
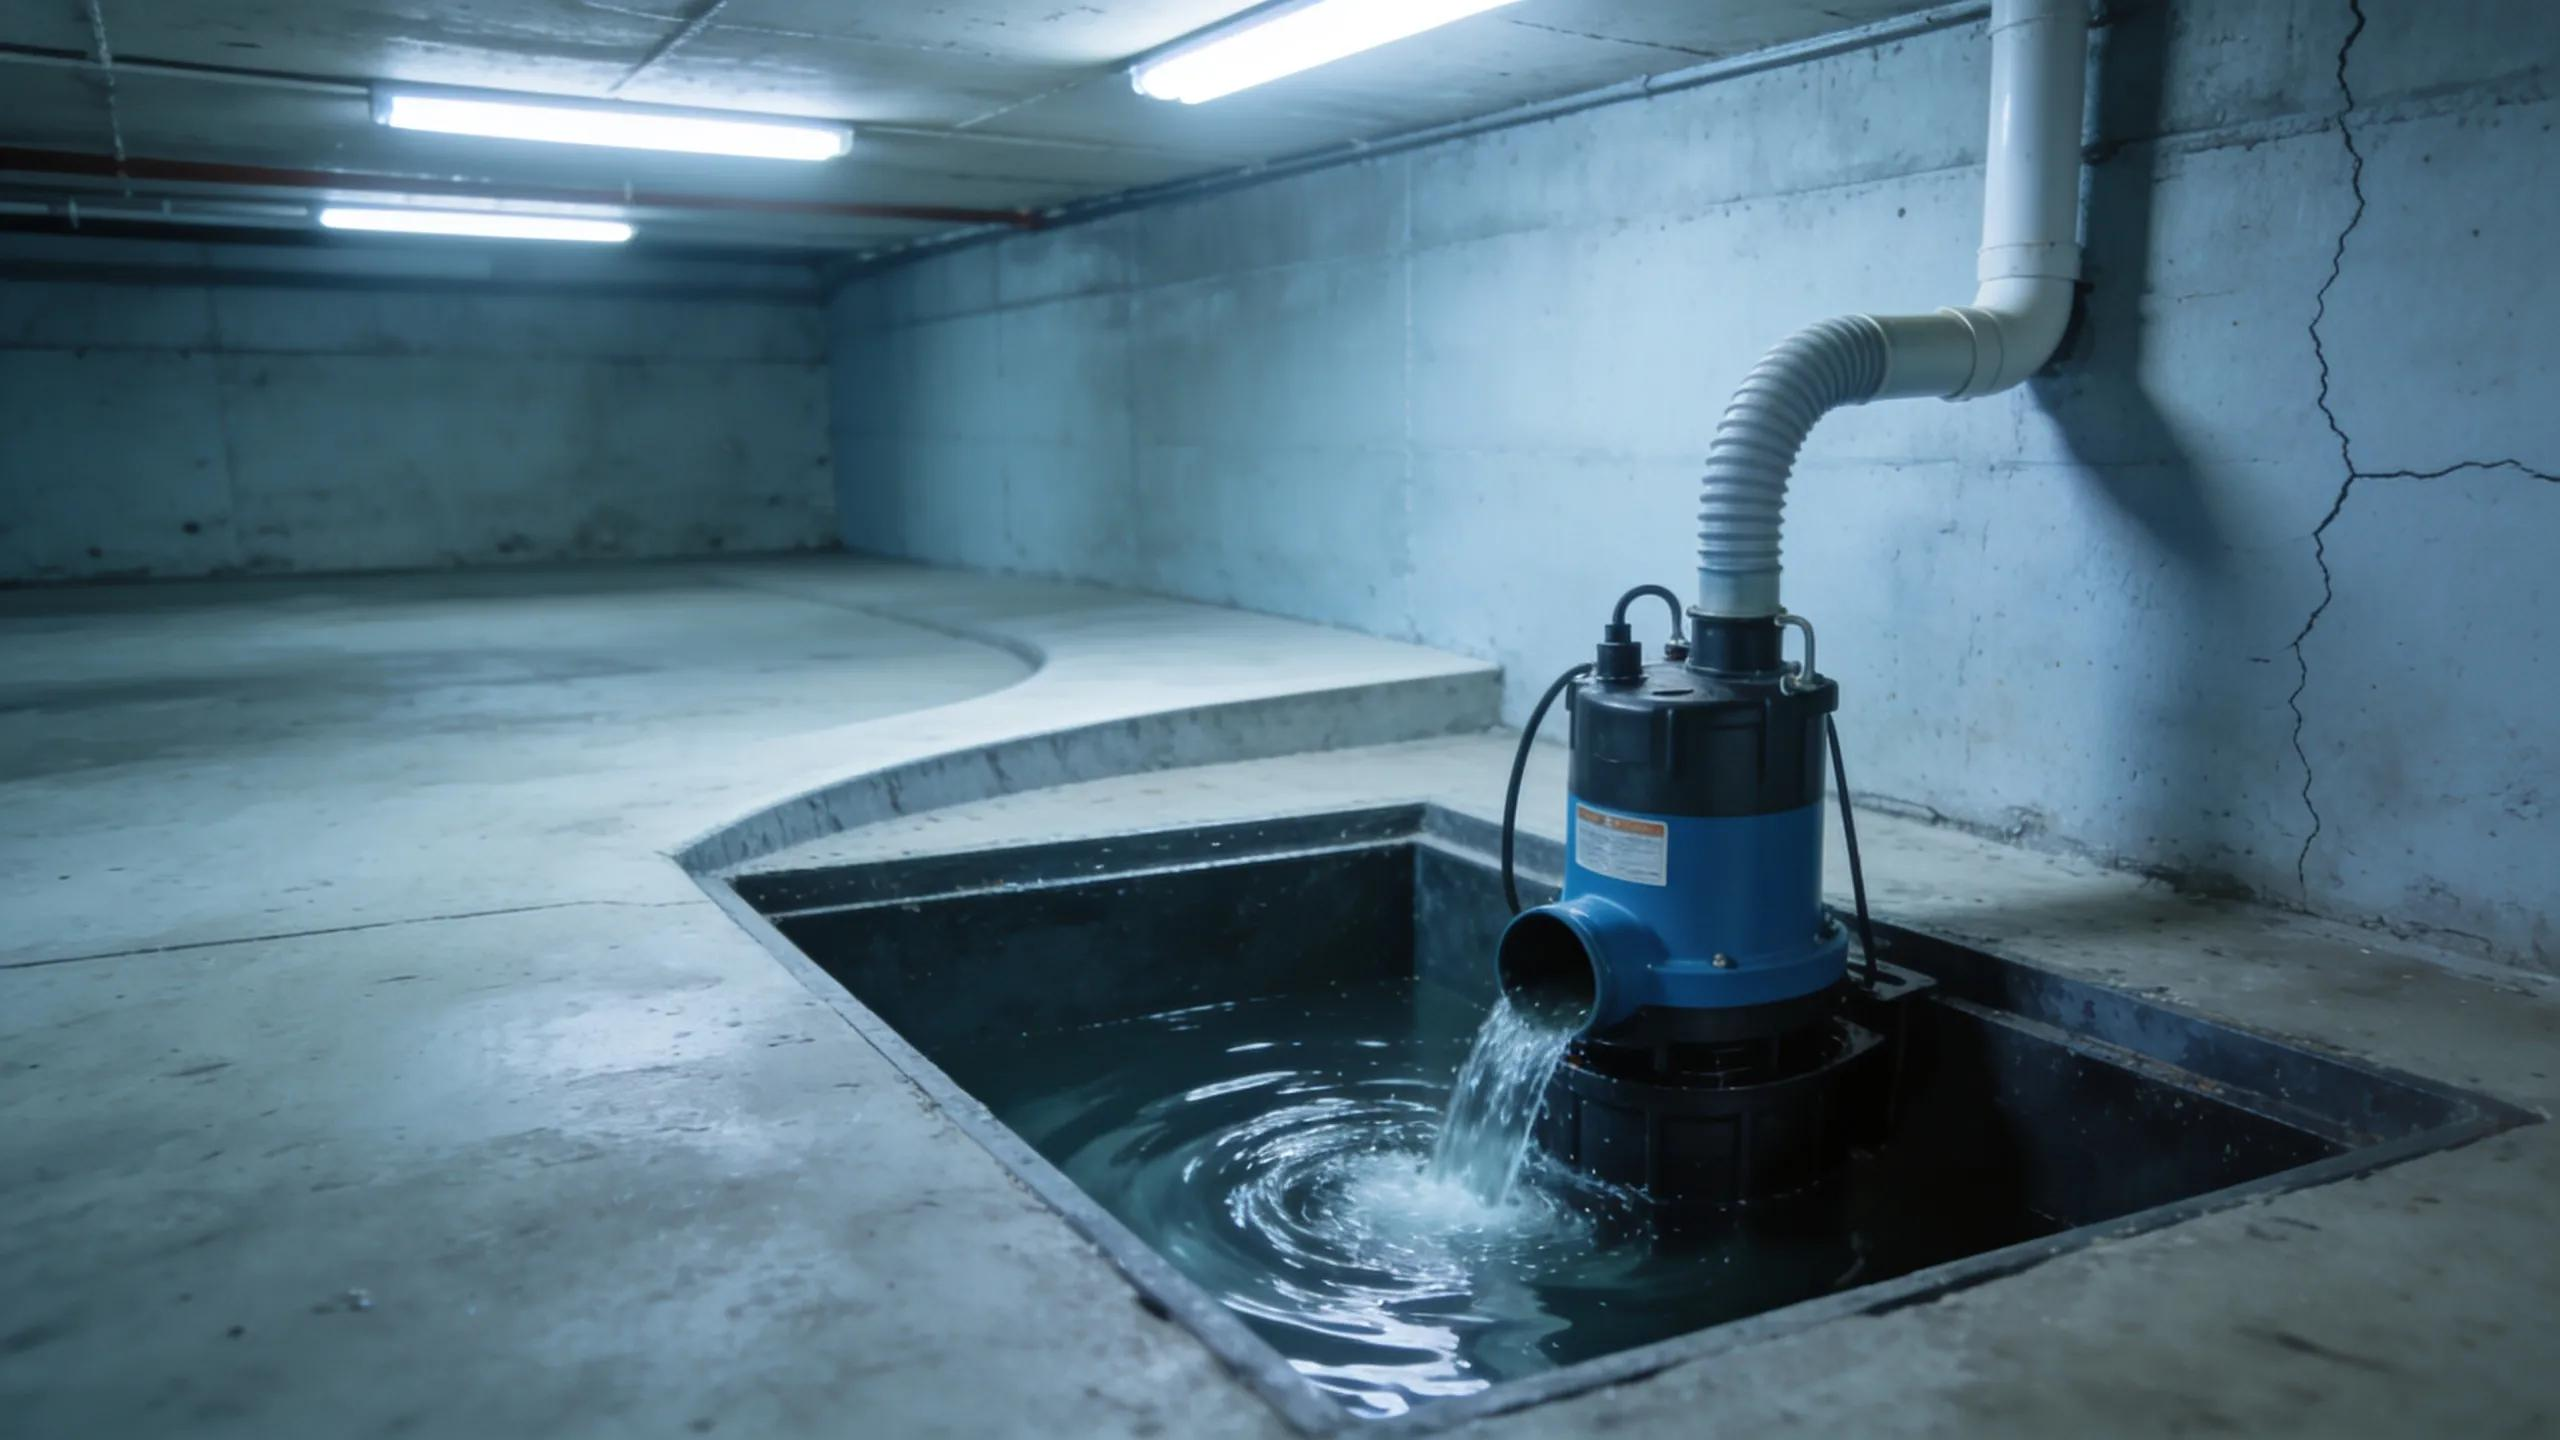
The Installation Process
Once the right sump pump has been chosen, the next step is getting it installed correctly. A solid installation makes all the difference. Even a high-end model won't work as intended if the pit is too shallow or the discharge line isn't set up to handle the water output.
Our technicians begin by preparing the sump pit. If an old pump is being removed, they'll assess the liner and clean out any sediment. For new installations, a pit is dug to meet proper depth and width requirements based on your pump type. After that, the pump is positioned within the pit and connected to a discharge line that directs water safely away from your house. Nearby landscaping, length of discharge route, and slope of the yard are all factored in.
Here’s what you can expect to be done during installation day:
- Removal of any old pump (if present)
- Digging and setting the sump pit if one is not already in place
- Installing or adjusting the pit liner to ensure optimal fit
- Placing and connecting the new sump pump
- Running discharge piping from the pump to a safe drainage area
- Installing a check valve to prevent water backup
- Testing the system to confirm proper operation
Installation is typically done within a few hours for basic setups. However, complex layouts or water drainage challenges may take longer. Our technicians double-check seals, power supply, and flow direction to avoid future issues. By the end of the job, the sump pump is fully functional and ready to activate at the first sign of rising water.
Post-Installation Care And Maintenance
Once your new sump pump is up and running, it's important to keep it that way. A working pump gives peace of mind only if it runs when it’s supposed to. That’s where routine maintenance comes in.
Ignoring your sump pump can result in clogs, motor failure, or even total system breakdown. Unfortunately, most unit failures happen when you least expect them—usually during a storm. Sticking to a basic maintenance schedule prevents unexpected issues and helps your system last longer. It’s like getting your heater checked before winter; it keeps surprises to a minimum.
Here are simple tips for ongoing care:
- Test the pump every few months by pouring water into the pit and watching it cycle on and off
- Make sure the discharge line is clear of debris or ice buildup
- Inspect the power connection and backup battery, if one is installed
- Clean the pit of sediment, gravel, or other debris that can block the float switch
- Listen for unusual sounds each time the pump activates
If the pump fails to run or sounds off during testing, it's time for an inspection. Our professionals can quickly identify issues and make needed adjustments or repairs. Having the system professionally checked once a year—especially before fall storms—is a smart move in Antioch, where heavy rains can sneak up quickly.
Keeping Your Basement Dry With Reliable Setup
A carefully chosen and properly installed sump pump can make the difference between a dry basement and costly water damage. That’s why the full setup process matters. From the initial assessment to maintenance after the install, each step helps protect your home and make sure water is handled before it becomes a threat.
Antioch homes face a real risk of water intrusions during summer storms. Taking proactive steps now helps you avoid stressful moments later. If your current sump pump is inconsistent, or if you’ve never had one installed, investing the time to set it up right now lets you sleep easier when the next strong storm rolls in. A reliable sump pump setup means less worry, lower risk, and greater confidence in your home’s protection.
For dependable sump pump installation in Antioch, trust Countryside Plumbing Sewer and Septic to provide expert service that protects your home from unexpected water damage. Our experienced team handles everything from thorough assessments to precise installation and reliable maintenance. For a quick estimate or to schedule service, please contact us today.